
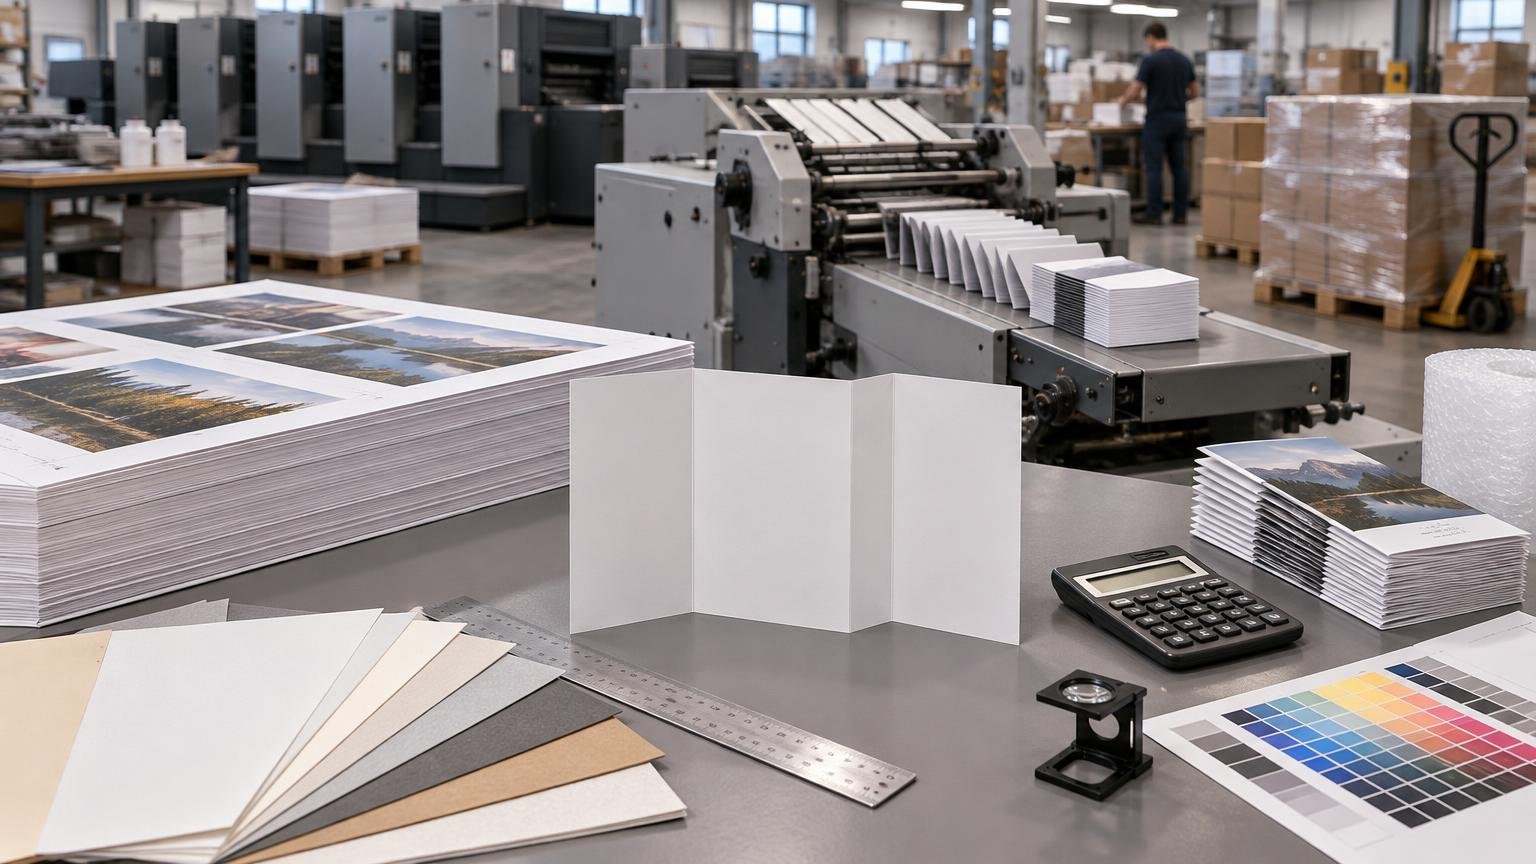
Print Estimating Basics: Materials, Clicks, Setup, Waste, Finishing, and Freight
TLDR: Print job estimating basics begin with a complete specification, not a price per piece. Define the finished product, quantity, stock, color, artwork condition, finishing, packaging, destination, and deadline. Then select a production route, calculate press-sheet requirements, add job-specific setup and spoilage allowances, cost every operation, and include delivery. After production, compare estimated costs with actual material and labor usage so the next estimate becomes more accurate.
A commercial print estimate is a production plan expressed in money. The visible product may be 2,500 folded brochures, but the estimator must account for the larger sheets or digital impressions used to produce them, the time required to prepare equipment, the sheets lost during setup and production, and every operation between file intake and final delivery.
That is why print job estimating basics cannot be reduced to paper plus press time. A low press price can become an expensive delivered job after proofing, scoring, folding, handwork, cartons, split shipments, or postage are added. Accurate estimating follows the entire job from artwork to shipment.
What a print job estimate represents
An estimate connects product specifications with the standards a particular shop uses for materials, equipment, labor, overhead, and selling price. CIP4 describes an MIS estimate as a record containing product and production information to which material and production standards are applied. Its workflow guidance also treats final costing as a way to identify differences between estimated and actual production. CIP4’s print automation resources provide useful context for this estimate-to-production relationship.
The important phrase is “a particular shop.” Two printers can receive the same specification and build different but reasonable production plans. Their presses may have different sheet formats, speeds, click agreements, staffing requirements, finishing equipment, purchasing costs, and available capacity. The cheapest route in one plant may not be practical in another.
Collect the complete specification before pricing
An estimator cannot choose a reliable production route from quantity alone. Start with a written specification that answers the following questions:
- Product: brochure, booklet, carton, label, postcard, sign, or another defined item.
- Finished and flat size: the dimensions after trimming and the dimensions before folding or assembly.
- Quantity: required delivered quantity, acceptable variation, and quantities for each version.
- Pages and sides: page count, one-sided or two-sided printing, and whether blank pages are intentional.
- Color: process color, black only, spot colors, white ink, coatings, or other production requirements.
- Substrate: paper grade, weight or caliper, finish, color, grain requirement, adhesive, liner, or supplied material.
- Artwork: whether files are print-ready, require correction, or still need design and preflight work.
- Proofing: PDF proof, contract-quality proof, physical mock-up, press proof, or another approval method.
- Finishing: trimming, scoring, folding, perforating, die cutting, laminating, binding, drilling, inserting, or hand assembly.
- Packing: pieces per bundle, carton limits, labels, pallet requirements, and any retail or fulfillment pack-out.
- Delivery: destination, loading conditions, split shipments, carrier requirements, and required in-hands date.
- Mailing: mail class, list processing, addressing, sorting, tabbing or inserting, entry point, and postage funding.
File condition deserves attention because “artwork supplied” does not necessarily mean “production-ready.” Missing bleed, incorrect page dimensions, low-resolution graphics, unembedded fonts, or an incomplete dieline may create prepress labor and delay. A buyer can reduce this uncertainty by following a consistent print-ready file setup process before requesting final pricing.
The core estimating workflow
- Define the finished product and confirm the delivered quantity.
- Identify viable production methods and equipment.
- Plan the imposition, sheet size, web width, or roll layout.
- Calculate the net material required for saleable pieces.
- Add setup sheets and a suitable allowance for running spoilage.
- Estimate prepress, press, finishing, and packing operations.
- Add purchased services, freight, mailing costs, overhead, and margin.
- Check equipment capacity and the production schedule against the deadline.
- Record actual material, labor, and outside costs after completion.
These steps are connected. Changing the stock can alter the available press format, folding behavior, carton weight, and freight. Adding a coating may create another setup, increase spoilage exposure, and change when the job can move to folding. Moving the delivery date forward may require a different press or outsourced finishing even if the original route had a lower theoretical cost.
The main cost areas in a commercial print estimate
| Cost area | What may be included | Why it changes |
|---|---|---|
| Prepress | File intake, preflight, corrections, imposition, proofs, plates, or digital setup | Artwork condition, page count, versions, proof level, and production method |
| Substrate | Paper, board, film, vinyl, liner, envelopes, or other material | Sheet size, yield, purchasing unit, minimum order, grain, and waste |
| Press production | Makeready, plates or click charges, washups, running time, and operators | Color count, sides, run length, equipment, coverage, and speed |
| Finishing | Cutting, coating, scoring, folding, binding, die cutting, laminating, and handwork | Number of operations, setup complexity, run speed, and spoilage exposure |
| Outside services | Specialty finishing, trade binding, converting, or other purchased work | Supplier minimums, transport, schedule, and markup policy |
| Packing and delivery | Bundles, cartons, labels, pallets, freight, courier, and split shipments | Pack-out rules, weight, dimensions, distance, access, and deadline |
| Mailing | Data work, addressing, sorting, inserting, entry preparation, and postage | Mailpiece design, class, quantity, list quality, and postal eligibility |
Finished quantity is not press-sheet quantity
The finished quantity is the number of acceptable pieces the customer needs. Press-sheet quantity is the number of sheets required to manufacture those pieces. The figures differ whenever multiple pieces fit on a sheet or when production requires extra material.
An n-up layout places multiple finished pieces on one press sheet. In a simple two-up plan, each sheet yields two pieces after printing and cutting. A required quantity of 2,500 pieces therefore has a theoretical net requirement of 1,250 good sheets. That is only the starting point. The estimator must still add sheets for press setup, color adjustment, finishing setup, and losses during production.
An impression generally describes an image produced by the press. A digital “click” is a billing or meter unit, but its exact definition depends on the equipment and service agreement. It may be counted by printed side, sheet size, color mode, or another contractual category. Estimators should use the shop’s documented click rules rather than assume that one finished piece equals one click.
How bleed, trim, imposition, and grain affect material use
Finished dimensions alone do not establish sheet yield. The layout also needs room for bleed, trim, gripper or equipment requirements, color control elements, gutters, and finishing tolerances. Adobe explains that bleed extends artwork beyond the trim area to accommodate trimming variation, while printer’s marks, registration marks, and color bars sit outside the finished page as production aids. Adobe’s PDF production documentation explains these distinctions.
A design that appears to fit three-up based only on trim dimensions may fit only two-up after those production areas are included. Conversely, a different parent sheet or press format may improve yield. Imposition should therefore be tested against the actual equipment and stock, not calculated solely by dividing one dimension by another.
Grain direction can also affect the plan for folded work. Sappi’s folding guidance says folds parallel to the paper grain are less prone to cracking and identifies printing, moisture, ink, and coatings as additional factors. A layout with better numerical sheet yield may be a poor choice if it places a critical fold against the grain or creates unreliable finishing. Scoring may help, but it adds another operation and its own setup and waste.
Makeready and spoilage are different allowances
Makeready covers the preparation required to bring an operation into acceptable production. Depending on the process, that can include loading material, mounting plates or tooling, setting register, adjusting color, programming a folder, or positioning a cutting die. Heidelberg presents makeready reduction as an important production-efficiency issue, especially in relation to capacity and cost exposure. Its materials are useful process context, not a universal performance benchmark.
Running spoilage is material lost after acceptable production begins. Causes can include damaged sheets, color or register drift, feeding problems, web breaks, finishing jams, or pieces removed during quality control. Finishing may consume additional setup sheets even if press production ran cleanly.
There is no responsible universal waste percentage. Allowances should reflect the equipment, substrate, run length, number of operations, job complexity, and shop history. A difficult stock passing through printing, coating, die cutting, stripping, and gluing has more points of exposure than a digitally printed flat sheet receiving one trim cut.
Digital versus offset must be compared job by job
Digital production often reduces plate-related setup and can suit short runs, variable content, or compressed schedules. Offset can become efficient when its setup cost is distributed across enough impressions, particularly when the press format gives strong sheet yield. Those observations do not create a universal crossover quantity.
A useful comparison prices the same finished specification through both routes. Keep quantity, size, stock, color, proofing, finishing, packing, delivery, and schedule consistent. Then compare setup, material yield, click or press costs, labor, spoilage exposure, capacity, and required quality. Our detailed offset versus digital printing guide explains the production tradeoffs that sit behind that calculation.
Buyers exploring commercial printing options should provide the complete specification rather than ask which process is cheapest in isolation. The lowest press cost does not necessarily produce the lowest delivered cost.
Worked example: estimating 2,500 tri-fold brochures
The following is a deliberately simplified estimating example, not a quote or a production standard. Assume a printer tentatively plans a two-up layout and allows 150 additional sheets for press and finishing setup plus expected spoilage.
| Calculation | Assumption or result |
|---|---|
| Required finished quantity | 2,500 brochures |
| Tentative layout | 2 brochures per press sheet |
| Net good sheets | 2,500 ÷ 2 = 1,250 sheets |
| Hypothetical setup and spoilage allowance | 150 sheets |
| Estimated sheets to provide | 1,250 + 150 = 1,400 sheets |
The arithmetic is straightforward; validating the assumptions is the real estimating work. The two-up layout must accommodate flat size, bleed, gutters, production marks, press requirements, and grain direction. The 150-sheet allowance must be tested against the shop’s history for the selected press, paper, coating, score, and fold combination.
The estimate would then add preflight and proofing; plates and makeready or digital setup and clicks; stock for 1,400 sheets; printing on both sides; scoring and folding; final trimming if required; quality inspection; cartons and labels; and freight. If the brochures are mailed, list processing, addressing, postal preparation, and postage must be treated separately as applicable.
Even the impression count requires context. On equipment that meters each printed side separately, 1,400 sheets printed on two sides could represent 2,800 metered sides. Another press or contract may account for production differently. The estimator should apply the actual equipment and billing standard rather than transfer this number blindly.
Finishing, packing, freight, and mailing can change the winner
Finishing is often where an apparently simple job becomes operationally complex. A die-cut product may require tooling, stripping, hand sorting, and more generous spoilage. A booklet adds binding setup and page-sequence controls. A folded piece may require scoring before folding, especially when stock, ink coverage, coating, or grain direction increases cracking risk.
Packing must be specified rather than treated as an invisible final step. Fifty pieces per bundle and 500 per carton require different labor and materials than loose bulk packing. Carton dimensions can affect parcel or freight cost, while pallets, liftgate service, appointments, inside delivery, and multiple destinations add separate charges or coordination.
For direct mail, design and postal planning should happen before printing. USPS states that mailpiece size and shape affect price, so classification and eligibility can change the delivered campaign cost. USPS Mail Characteristics guidance should be checked with current postal tools before production because rates and requirements can change. Planning the printed format alongside the direct-mail strategy helps prevent a creative decision from creating avoidable mailing cost or processing trouble.
Common print estimating mistakes
- Quoting from quantity without confirming size, stock, color, sides, and finishing.
- Using finished trim dimensions to calculate yield without bleed, gutters, marks, or equipment requirements.
- Treating every purchased or printed sheet as a saleable finished piece.
- Applying one waste percentage to every stock, press, run length, and finishing route.
- Counting press setup but omitting cutter, folder, binder, die cutter, or pack-out setup.
- Ignoring prepress labor because the customer says files are ready.
- Comparing digital and offset prices with different stocks, proofs, finishes, or delivery assumptions.
- Leaving cartons, pallets, split shipments, and freight outside the estimate.
- Printing a mailpiece before confirming its dimensions, shape, addressing area, and postal plan.
- Accepting a deadline without checking equipment, labor, outside services, material availability, and transit time.
Reusable print estimate intake checklist
- Product name and intended use
- Finished size and flat size
- Required delivered quantity and version breakdown
- Page count, sides, and color specification
- Stock, weight or caliper, finish, and grain requirement
- Bleed, dieline, fold, perforation, and safe-area requirements
- Artwork status and expected prepress work
- Proof type and approval responsibility
- Every finishing and assembly operation
- Bundle, carton, labeling, and pallet instructions
- Delivery addresses and split-shipment quantities
- Required in-hands date rather than shipment date alone
- Mailing class, list work, addressing, and postal preparation if applicable
- Rules for overruns, underruns, substitutions, and customer-supplied materials
Improve the next estimate with actual job data
Estimating accuracy improves when completed jobs feed information back into the system. Review actual sheets or linear material consumed, press and finishing setup time, running speed, labor hours, spoilage, outside invoices, packing materials, and freight. Compare those results with the estimate and identify why material or time varied.
Do not change a standard because of one unexplained result. Look for repeatable patterns: a coated stock that consistently needs more folder setup, a die-cut layout that produces predictable stripping labor, or a customer whose files regularly require correction. Useful standards come from documented production history combined with equipment knowledge.
Build the specification before asking for the unit price
A reliable print quote starts with a defined product and ends with a defined delivery. First establish what must be produced, how many acceptable pieces are needed, what operations they require, where they are going, and when they must arrive. Then let the estimator select the equipment, calculate material yield, apply shop-specific setup and spoilage standards, and price the complete route.
The practical next step is to complete the intake checklist and request a production-specific review. That gives the printer enough information to identify costly assumptions before the job reaches the press—and gives the buyer a quote that is far more useful than a bare price per piece.